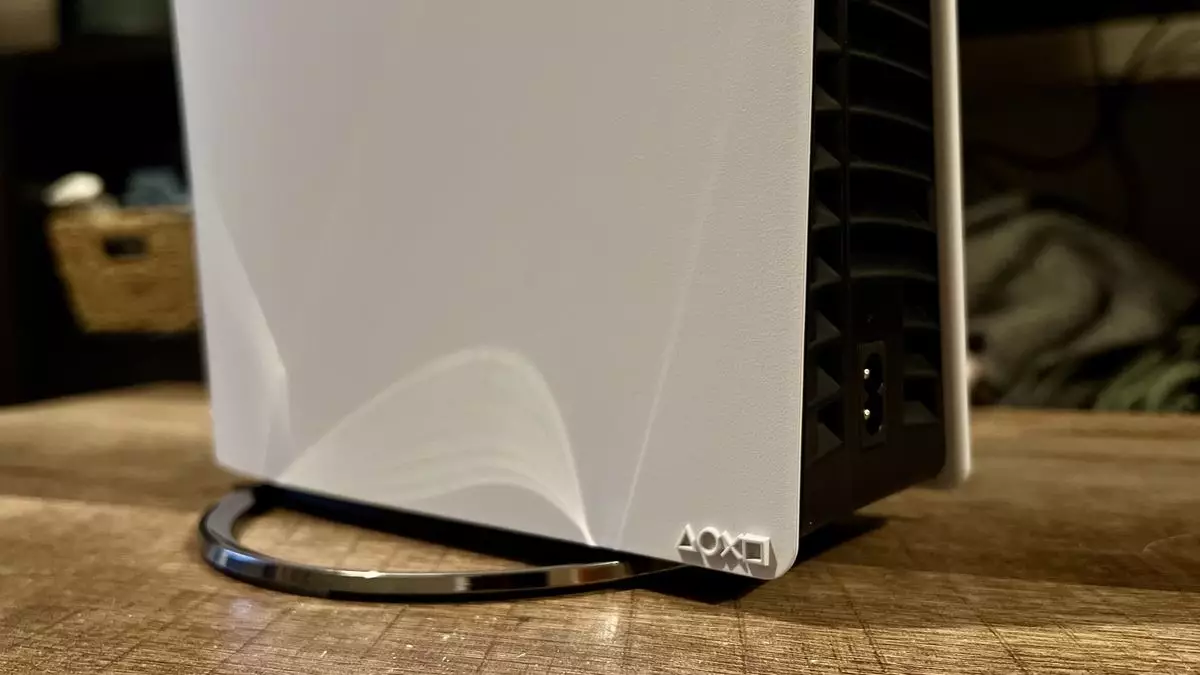
The much-anticipated PlayStation 5 Pro has officially hit the market, offering gamers a more robust gaming experience than its predecessor. However, amidst the excitement of unboxing this powerful console, one particular detail might catch you off guard: the absence of a vertical stand in the package. Unlike the original PS5, which included a basic stand, the PS5 Pro necessitates a separate vertical stand accessory to maintain stability and an upright position. This guide aims to dissect the changes in design and functionality of the stand and provide a straightforward setup process for enthusiasts eager to get started.
The transition from the original PS5 to the Pro comes with an all-new vertical stand attached directly to the console. This shift is significant compared to the prior model’s simple plastic wedge. The redesigned stand focuses on providing a stable and secure foundation for your console, one that prevents the slip-and-slide issues often encountered with its predecessor. The original model allowed the console to wobble or shift, raising concerns about damage or instability. In contrast, the new stand is bolted down, delivering both functionality and aesthetic appeal. A semblance of modernity and design cohesiveness characterizes the PS5 Pro’s overall look, making it a visual as well as practical enhancement.
For those who prioritize their gaming setup, acquiring the vertical stand should be at the top of your accessory list. Firstly, it adds a degree of safety; with a more stable stand design, users can rest assured that their console is firmly anchored. Additionally, an upright position can enhance cooling efficiency due to improved airflow, thus ensuring the console operates at optimal temperature levels. Beyond functionality, the vertical stand can elevate the overall aesthetic of your gaming area, lending a more polished and organized appearance to your setup.
Unboxing the PS5 Pro with intentions to set it up can be thrilling, but many first-time owners may feel daunted by the assembly of the vertical stand. Fear not; the installation is straightforward.
1. **Power Down and Preparation**: First, ensure your PS5 Pro is completely powered off and disconnected from the power source. Turn it upside down to gain access to the bottom.
2. **Remove the Cap**: At the bottom of the console, locate the small black cap. This can be removed by gently wiggling it until it dislodges. Keep this cap safe as you will need it for the installation.
3. **Unbox the Stand Components**: Inside the vertical stand packaging, you will discover a ringed base, an additional adapter for the original PS5, and a mounting screw. If your intent is to fix the stand to the PS5 Pro, you can disregard the additional adapter.
4. **Align and Secure**: Depending on your console type, align the relevant part of the stand with the console. For the PS5 Pro, identify the hole marked by a triangle and circle, and place the cap you removed into this hole. For those using the original PS5, match the corresponding hole marked by a square and cross.
5. **Final Adjustments**: As you rotate the stand and console to align, insert the mounting screw through the appropriate hole and secure it tightly. For final adjustments, utilize a coin to help tighten the screw if needed.
The inclusion of a reliable stand for the PS5 Pro is more than just an accessory; it is a fundamental addition that enhances both utility and design. The ease of installation coupled with the stand’s increased stability makes it an indispensable part of your console setup. As you embark on your gaming adventures with the PS5 Pro, take the time to properly set up your vertical stand – it’s a small step that can make a world of difference.

